I must admit, I've never been a good froster of cookies or decorator of gingerbread houses. It takes patience...and a steady hand for sure. Now, I'm not averse to hard work but I love moments of magic to happen instantaneously. And patience is definitely something I need to work on. Maybe should add it to my "goals of 2012" list.
Our 6th President of the United States, John Quincy Adams said, "Patience and perseverance have a magical effect before which difficulties disappear and obstacles vanish."
Such is true in all these new kitchen adventures. Patience is necessary when in the first round of sugar cookies...the dough is too sticky to cut out anything easily identifiable. And then you down right throw a fit because you can't even get a good circle on that cookie sheet. :-/
But... you make your notes and continue experimenting till you get it JUST right...right!?
As for the icing...second times a charm and if you're using Glorious Treats Royal Icing Recipe!!
Meringue Powder was a new ingredient for me...had to go to Michael's to pick this stuff up.
According to Wilton, apparently meringue powder adds body to royal icing, meringue, or boiled icing; it stabilizes buttercream, and it can replace egg whites in some recipes. Will definitely have to try this with buttercream....beat too much and the results are UNREAL crazy...separation and chunkiness like no other.
Onward....so I beat together all the ingredients until stiff peaks formed. This was really the winning point in getting the right consistency to work with. I used a hand mixer rather than a stand mixer. I find that when working with frostings and icings...the hand mixer works better for me.
Then for the fun part, I used Duff Food Coloring Gel.
Ooooh the swirls!
And set up my decorating station. Parchment paper for a clean surface. I used two cookie decorating bottles with a size 3 tip (really didn't know how this would work...a size 2 might've been a little better for more detailed accuracy but size 3 worked just fine).
First, you want to outline your cookies and let dry for at least a half hour. If you can't tell, these will be balloons.
After the outline is set and dried, you can work on the inside. No crazy designs for me yet, just wanted to get down the basics this time around. I added a small little dap of white for reflection ;-)
As for presentation, I wanted each cookie to be like a special gift. Each wrapped in a plastic bag with a purple tie to finish off the balloon.
Perfect for someone's birthday, or maybe a Disney themed "Up" party, or....a "She's ready to POP" themed baby shower??
Next time, a steadier hand with the icing, and adding some more difficult details.
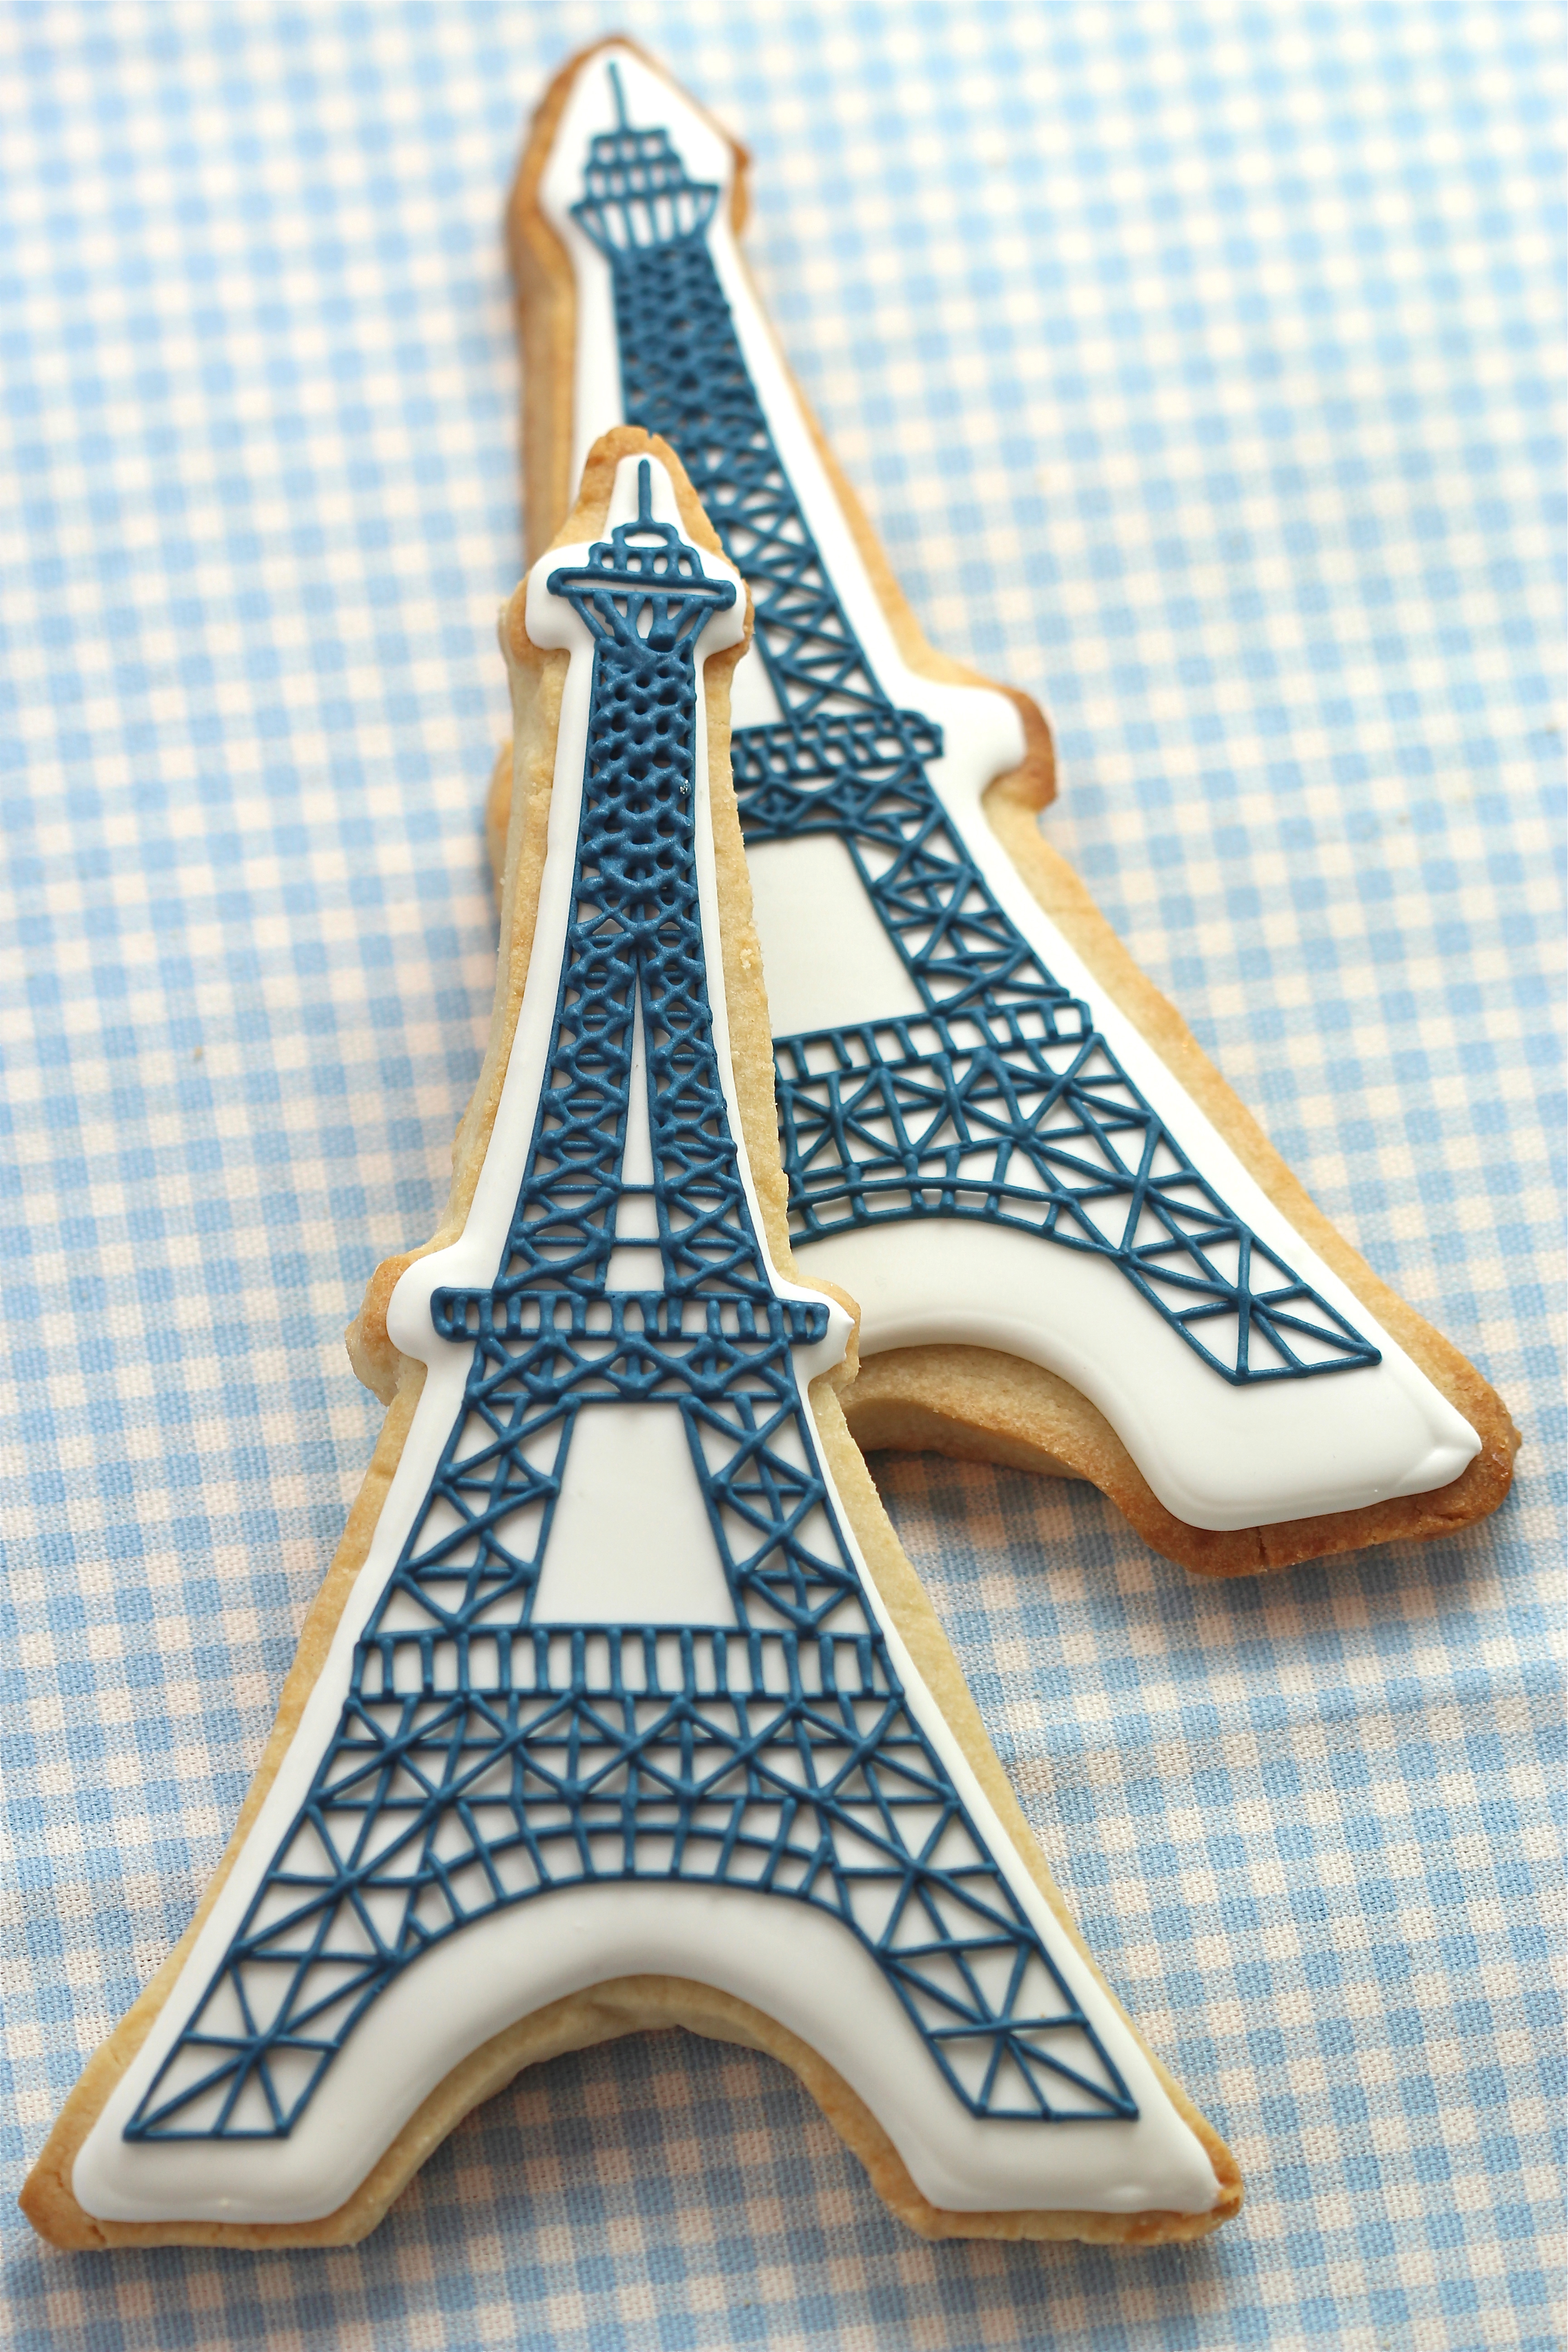
I saw this great tutorial on Eiffel Tower cookies ...that'll be something I need to build up to. Pretty spiffy huh? :-)
Courtesy of The TomKat Studio


No comments:
Post a Comment